Server & Storage Decommissioning Checklist: Steps to Protect Data, Meet Compliance, and Recover Value
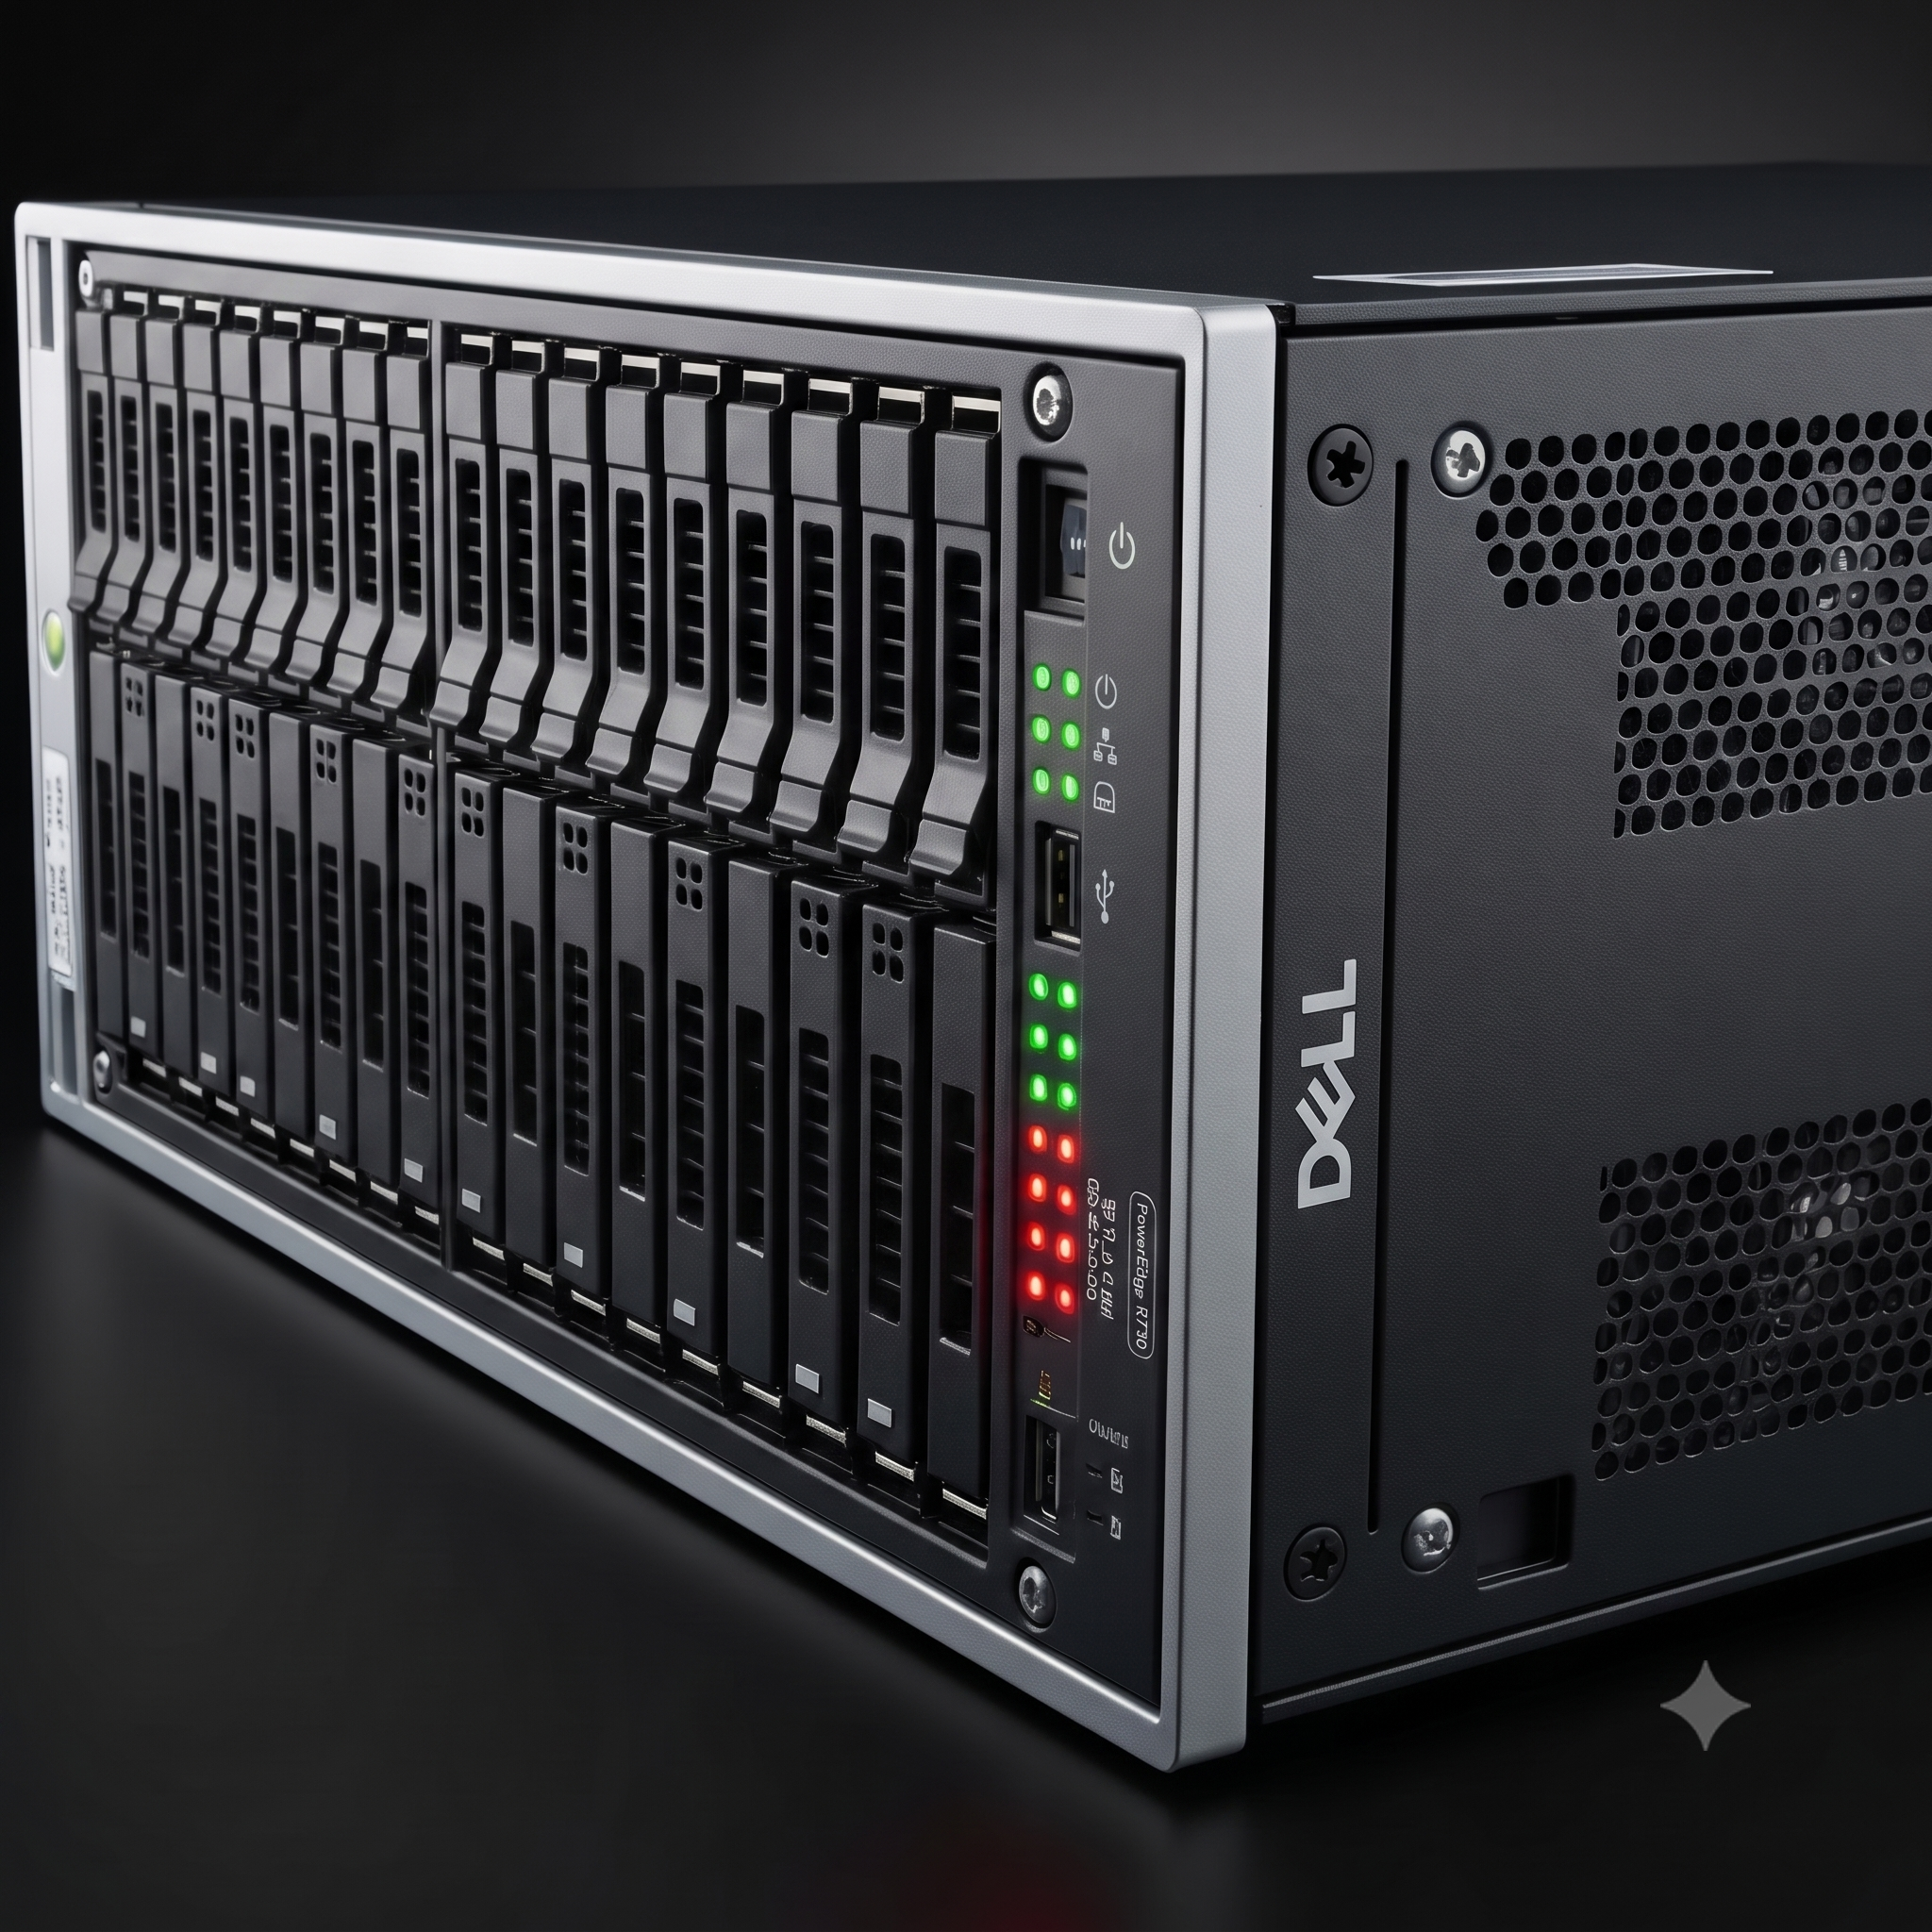
A server and storage decommissioning checklist gives your team a repeatable framework for retiring servers, storage arrays, racks, and networking equipment without exposing sensitive data or disrupting the business processes that still depend on active systems. The project might be a few server racks coming out during a consolidation, a storage array reaching end of life, a room of networking gear cleared for an office move or lease return, or a full data center decommissioning. The scale changes, but the process does not: every one of these touches data security, regulatory compliance, and asset recovery all at once, and skipping a step in any of those areas turns a routine hardware refresh into a compliance failure or a data breach.
A full data center shutdown is simply the largest version of this project, and it usually gets a dedicated team. The smaller server and storage retirements are where a structured checklist pays off most, because they rarely do, and the same drives with the same data are involved either way.
This guide walks through the critical steps of a successful server and storage decommissioning project, from assigning a project manager through final disposal and destruction certificates. Use it to build your own decommissioning plan or to evaluate whether your current process has gaps.
Why Server and Storage Decommissioning Requires a Structured Process
Decommissioning is the coordinated retirement of servers, storage arrays, networking equipment, racks, cabling, and power systems that are no longer needed, whether that is an entire data center or a single row of server racks. Unlike retiring a single laptop or desktop, it involves physical infrastructure, active connections, and often multiple stakeholders across IT, security, facilities, and compliance. Treating it as a simple removal job, rather than a complex process with its own risk profile, is where most decommissioning projects run into trouble.
The stakes are high because retired equipment does not stop holding data the moment it is powered down. One industry analysis found that a majority of data breaches trace back to mismanaged credentials or improperly disposed of assets, which means the decommissioning phase carries as much data security risk as the systems did while they were in production. For organizations subject to HIPAA, SOX, or state privacy laws, a single storage device that leaves the facility without verified data sanitization can trigger mandatory breach notification and regulatory penalties, regardless of whether the data was ever actually accessed.
A documented decommissioning checklist reduces that exposure by making each step, from inventory to physical destruction, auditable and repeatable rather than dependent on institutional memory.
The Decommissioning Process in Seven Steps
A clean decommissioning follows the same sequence whether you are clearing one rack or an entire hall: make a plan, back up the data, physically remove the equipment, inventory what you pulled, destroy the data, test and recycle what is left, and document all of it. The first three steps are work your own team leads. The last four, from asset inventory onward, are exactly where a certified ITAD partner takes over, because doing them in-house is where the specialized effort, equipment, and liability concentrate. As you read the steps below, notice how much heavier the lifting becomes once the equipment is unracked, and how naturally that points toward vendor selection.
Step 1: Make the Plan
Every successful decommissioning starts with a written plan, not a pickup date. Assign one project manager to own the timeline and coordinate IT, security, facilities, and compliance, and give data owners and the teams holding maintenance contracts or leases visibility so they can flag dependencies before anything is powered down. Define the scope, list every asset category involved, and set clear success criteria, such as a reconciled inventory, verified data destruction, and complete documentation, so everyone agrees on what "done" means. Build in checkpoints to confirm that any data migration or cloud migration is fully complete before a system is powered down; a rushed timeline is the most common cause of accidentally decommissioning equipment that is still supporting live production elsewhere.
Step 2: Back Up the Data
Before any hardware is disconnected, confirm that a comprehensive backup of anything still needed for future reference or audit readiness has been captured and stored separately from the equipment being retired. Every server, storage array, and backup system should be treated as containing critical data until that backup is verified, regardless of what the asset tag says about its last known use. This is also the moment to establish a secure chain of custody, so from the first disconnection onward there is no window where a storage device sits unaccounted for in a hallway or on a loading dock.
Step 3: Physically Remove the Equipment
Physical removal is where planning either pays off or falls apart. Disconnecting power and network connections in the wrong order can take down systems that were never meant to be part of the project, especially in shared racks or colocation environments where equipment from multiple business units sits side by side. Before any equipment is unracked, confirm there are no remaining active connections tied to production workloads, verify that components are not scheduled for reuse elsewhere, and document the physical condition of each asset for the disposition record. Stage removed equipment in a secure, access-controlled area until it is loaded for transport.
Step 4: Create a Detailed Asset Inventory
Inventory is typically the earliest point at which ITAD services engage, and everything up to it is comparatively light. From here on, the work gets intricate, and the case for handing it to a specialist gets stronger with every step. An accurate, detailed inventory is the foundation of everything that follows: without it, you cannot prove that every storage device, server, and piece of networking equipment was accounted for, sanitized, and disposed of correctly. A thorough inventory typically captures:
- Serial numbers and asset tags for every server, storage array, and networking device
- Rack and row location, cross-referenced against the physical removal record
- Data sensitivity classification for each storage device, tied to applicable regulations
- Current status of any hardware maintenance contracts or leases tied to the asset
- Confirmation of whether the device holds production data, backup data, or no data
Reconciling this list against your CMDB or asset management system catches discrepancies early, while they are still easy to resolve. Building and reconciling an inventory at this scale, by serial number, under chain of custody, is painstaking work in-house, which is one of the main reasons organizations bring in a certified partner to own steps four through seven rather than absorb the effort and the liability themselves.
Step 5: Securely Destroy the Data
With everything inventoried, each data-bearing device has to be sanitized to a defined standard, whether that means software-based wiping, degaussing, or physical destruction for drives that cannot be verified through software alone. The output that matters is a destruction certificate tied to a specific serial number, not a generic summary. This is the step where doing it yourself is hardest to defend to an auditor, and where a partner's certified process and equipment carry the most weight.
Pro Tip: Treat every drive as live until you have a destruction certificate in hand. Powered-down does not mean data-free, and "we're pretty sure it was wiped" will not satisfy an auditor.
Step 6: Test, Repurpose, and Recycle to Recover Value
Sanitized equipment is not automatically scrap. A strong ITAD partner tests, grades, and sorts recovered hardware to extend its life wherever possible, remarkets what still has demand so you recover residual value instead of paying to discard it, and works with industry affiliates to ensure whatever cannot be reused is responsibly recycled rather than sent to a landfill. This is the step that turns a cost center into partial cost recovery.
Step 7: Document Everything and Prove Chain of Custody
Compliance documentation is what turns a decommissioning from "we think we handled it correctly" into evidence you can produce during an audit. Obligations vary by industry and by the type of data involved, but the underlying need is consistent: proof of what happened to every asset, when, and under whose custody. A partner owning steps four through seven should hand back this record as a matter of course.
The table below outlines the core compliance records most organizations need to retain after a decommissioning project.
| Documentation Type | What It Confirms | Typical Retention |
|---|---|---|
| Asset inventory reconciliation | Every device was tracked from disconnection to disposal | 3-7 years |
| Data destruction certificates | Storage media was sanitized to a defined standard | 7+ years |
| Chain-of-custody records | Custody of each asset at every transfer point | 3-7 years |
| Downstream disposition report | Final outcome (resale, recycling, destruction) per asset | 3-7 years |
Financial records and other regulated data introduce their own data retention requirements, so it is worth confirming retention periods with your compliance team before the project closes rather than after an audit request arrives.
Choosing a Certified ITAD Partner to Own Steps Four Through Seven
Because inventory, data destruction, value recovery, and documentation are where the effort and the liability concentrate, the partner you choose to own those steps matters more than any other decision in the project. IT Revalue is PN California's dedicated ITAD brand, built on more than two decades of R2v3 and RIOS certified operations. That combination of credentials and hands-on decommissioning experience is worth confirming with any partner before a project begins, since the certifications determine how much risk transfers off your organization and onto the vendor.
Ask any prospective partner to confirm current R2v3 and RIOS certification status and how long they have held it. R2v3 governs responsible recycling and data security, and RIOS covers the environmental, health, and safety management standards a facility operates under, so together they speak to both how your data is handled and how the hardware is processed downstream. Beyond the certificates, confirm that they provide destruction certificates tied to specific serial numbers rather than a generic summary, and that they test, grade, and remarket recoverable hardware rather than defaulting everything to shredding.
Quick Reference: The Seven-Step Decommissioning Checklist
Use this summary to confirm your project covers the critical steps, in order, from plan to proof.
- Step 1 — Make the plan: Assign a project manager, define scope, and set success criteria before scheduling removal.
- Step 2 — Back up the data: Verify complete backups and open a secure chain of custody before anything is disconnected.
- Step 3 — Physically remove the equipment: Sequence disconnections carefully and stage assets in a secure area.
- Step 4 — Create the asset inventory: Build a detailed inventory with serial numbers, locations, and data sensitivity (ITAD partner typically starts here).
- Step 5 — Destroy the data: Sanitize every data-bearing device and collect a destruction certificate per serial number.
- Step 6 — Test, repurpose, and recycle: Recover value from viable hardware and responsibly recycle the rest.
- Step 7 — Document everything: Retain custody records, destruction certificates, and disposition reports for audit.
- Vendor selection: Confirm R2v3 and RIOS certifications before handing off equipment.
Conclusion
A well-run server and storage decommissioning checklist protects your organization on three fronts at once: it keeps sensitive data out of the wrong hands, keeps you compliant with the regulations that apply to your industry, and recovers value from equipment that still has a second life ahead of it. The projects that go smoothly are the ones where the plan, the inventory, and the documentation were built before the first cable was ever unplugged.
If you are preparing to retire servers, storage arrays, or a full data center, IT Revalue can help you build a plan around secure data destruction, detailed asset inventory, and full chain-of-custody documentation from the first server to the last. Reach out with your equipment list and timeline to get started.
Request a Buyback Quote
Submit your equipment list to receive a buyback offer within one to two business days. No obligation.